Mini Cheesecake Cups That Are Creamy, Easy, and Irresistible
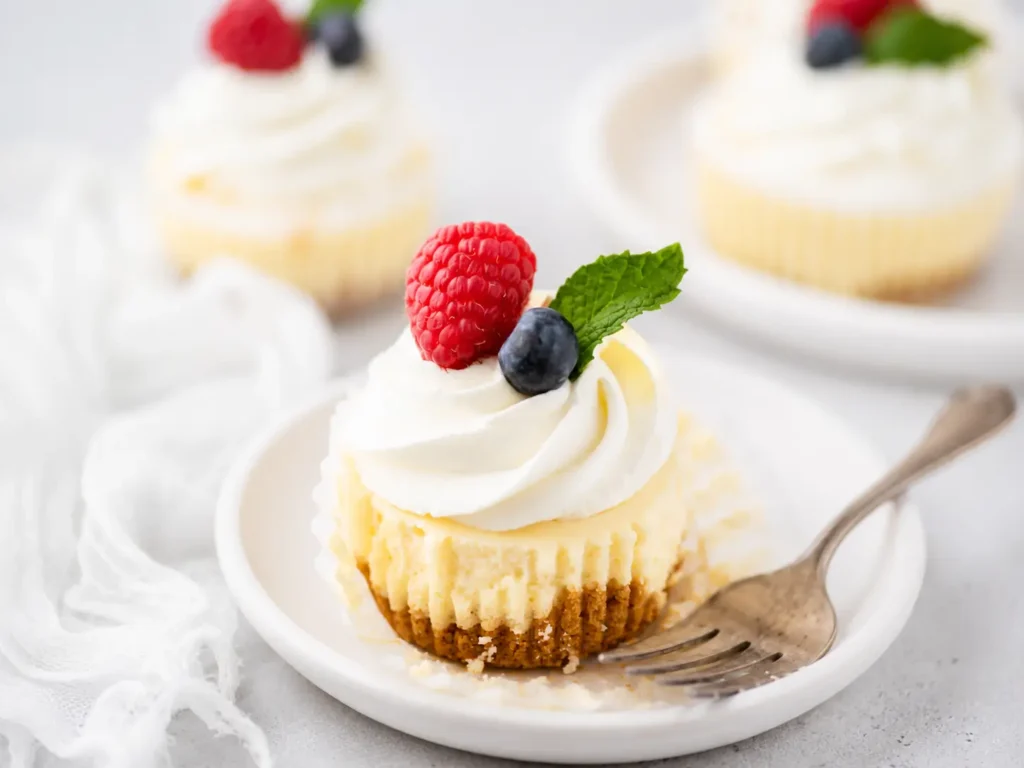
Mini Cheesecake Cups are my favorite little party dessert because they look polished without acting fussy. The crust is buttery and sandy, the filling bakes up smooth and creamy, and the toppings make every cup feel like its own tiny celebration.
Little Cheesecakes That Feel Bakery-Fancy
These Mini Cheesecake Cups have all the creamy tang of a classic cheesecake, but they’re baked in a muffin pan, so there’s no water bath drama. I love that each one has its own crisp-edged paper liner and neat graham cracker base.
They’re rich, cool, soft in the center, and just sweet enough. The first time I made them, I definitely pressed one crust a little sideways, but once the whipped cream and berries went on top, nobody knew. That’s the beauty of mini cheesecakes: they’re forgiving and still adorable.
What Gives Mini Cheesecake Cups Their Creamy Bite
• Graham cracker crumbs – create that sweet, toasty crust that tastes like classic cheesecake from the first bite.
• Unsalted butter – helps the crumbs hold together and gives the base a rich, bakery-style flavor.
• Full-fat cream cheese – the heart of the filling, giving these cheesecake cupcakes their smooth, thick texture.
• Granulated sugar – sweetens the tangy cream cheese without making the filling too heavy.
• Vanilla extract – adds warmth and rounds out the creamy flavor.
• Eggs – help the filling set into that soft, custardy cheesecake texture.
• Whipped cream – makes the tops look pretty and adds a light finish.
• Fresh fruit – berries or seasonal fruit bring color, freshness, and a little juicy pop.
See the recipe card below for the full list of ingredients and measurements.
Turning Crumbs and Cream Cheese into Mini Cheesecake Cups
Start with the crust. Stir the graham cracker crumbs with melted butter until the mixture looks like damp sand. Spoon it into lined muffin cups and press it firmly so each Mini Cheesecake Cup has a flat, sturdy base. A small measuring cup works beautifully here.
Bake the crusts briefly, then let them cool while you make the filling. This little head start keeps the bottoms from tasting loose or crumbly.
For the cheesecake batter, beat softened cream cheese with sugar until it looks smooth and fluffy. Add the vanilla, then mix in the eggs gently. This is where I slow down. Overmixing can whip too much air into the batter, and that’s when cracks and bubbles like to show up.
Divide the filling over the crusts and bake until the centers still have a gentle wobble. Not sloshy, not stiff. Just a soft jiggle in the middle. After baking, the Mini Cheesecake Cups need to cool and chill so the texture turns creamy, firm, and sliceable.
The No-Crack Trick I Always Remember
Once the eggs go in, mix only until everything comes together. Cheesecake batter doesn’t need a big dramatic beating. Gentle mixing keeps the filling silky and helps the tops stay smooth.
Also, don’t rush the cooling. Mini Cheesecake Cups like a gradual cool-down before going into the fridge. That patient chill is what gives them the best texture.
Toppings That Make Each Cup Look Special
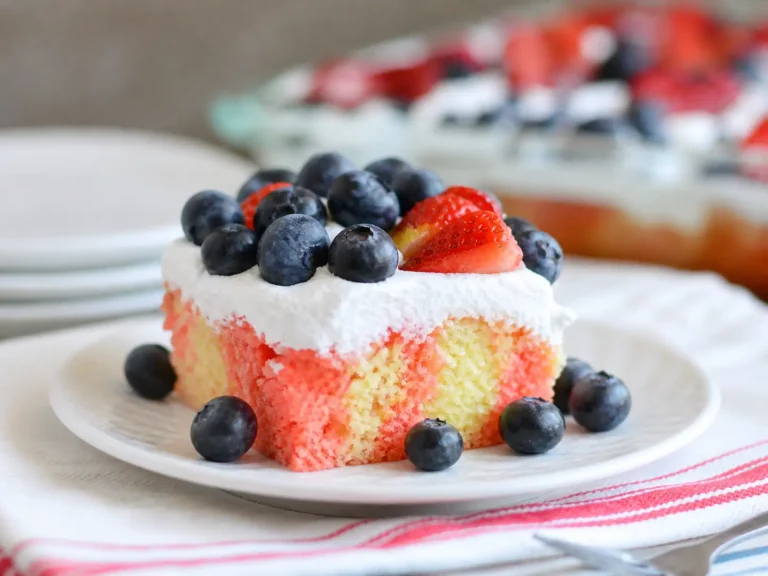
Whipped cream and fresh fruit are classic for a reason. Raspberries, blueberries, strawberries, or sliced peaches all look gorgeous against the pale cheesecake filling.
You can also use chocolate ganache, crushed cookies, chopped chocolate, pie filling, caramel, or tiny pieces of candy bar. For a fresh, colorful platter, I like mixing berries with a few mint leaves tucked here and there.
Storing and Freezing Mini Cheesecake Cups
Mini Cheesecake Cups are a dream for making ahead. Keep them in an airtight container in the fridge, and they’ll stay fresh for several days. For the prettiest party texture, I like topping them close to serving time so the whipped cream stays fluffy and the fruit looks bright.
They also freeze well. Wrap them individually or layer them in a freezer-safe container with parchment between the layers. Thaw them in the refrigerator, then add whipped cream and fruit after they’re chilled and ready to serve.
Mini Cheesecake Cups Recipe Card
Prep Time: 20 minutes
Cook Time: 22 minutes
Total Time: 42 minutes
Servings: 12
Calories: 107 kcal
Equipment:
Muffin pan
Paper muffin liners
Mixing bowl
Electric mixer
Spatula
Ingredients
Crust
1 cup graham cracker crumbs
4 tablespoons unsalted butter, melted
Cheesecake
16 ounces full-fat cream cheese, softened to room temperature
½ cup granulated sugar
1 teaspoon vanilla extract
2 large eggs
Topping
Whipped cream
Fresh fruit
Instructions
- Preheat the oven to 350ºF. Line a standard muffin pan with paper muffin liners.
- In a mixing bowl, stir the graham cracker crumbs and melted butter together until the crumbs look evenly moistened and sandy.
- Add 1 to 2 tablespoons of the crumb mixture to each muffin cup. Press the crumbs firmly into an even layer using the bottom of a small measuring cup.
- Bake the crusts for 5 minutes, then remove the pan from the oven and let the crusts cool while you prepare the filling.
- In a separate mixing bowl, beat the softened cream cheese and granulated sugar with an electric mixer for 1 to 2 minutes, until smooth.
- Mix in the vanilla extract. Add the eggs and beat just until the yolks break and the batter comes together. Avoid overmixing.
- Divide the cheesecake batter evenly among the muffin cups, filling the liners full.
- Bake for 15 to 17 minutes, or until the centers are just slightly jiggly.
- Let the Mini Cheesecake Cups cool to room temperature, then refrigerate for at least 4 hours before serving. Cover loosely with plastic wrap if chilling overnight.
- Top with whipped cream and fresh fruit just before serving.
Notes
Store Mini Cheesecake Cups in an airtight container in the refrigerator for up to 1 week.
Freeze for up to 3 months. Wrap individually or place in an airtight container or freezer bag with parchment paper between layers. Thaw in the refrigerator before serving.
Conclusion
There’s something extra comforting about pulling chilled Mini Cheesecake Cups from the fridge and adding that final swirl of whipped cream on top. The creamy filling, buttery graham cracker crust, and fresh fruit make every bite feel rich without being too heavy. I love serving them straight from the refrigerator on warm afternoons or crowded holiday dessert tables. They disappear fast, especially when everyone gets their own little cheesecake cup to enjoy.
More Relevant Recipes
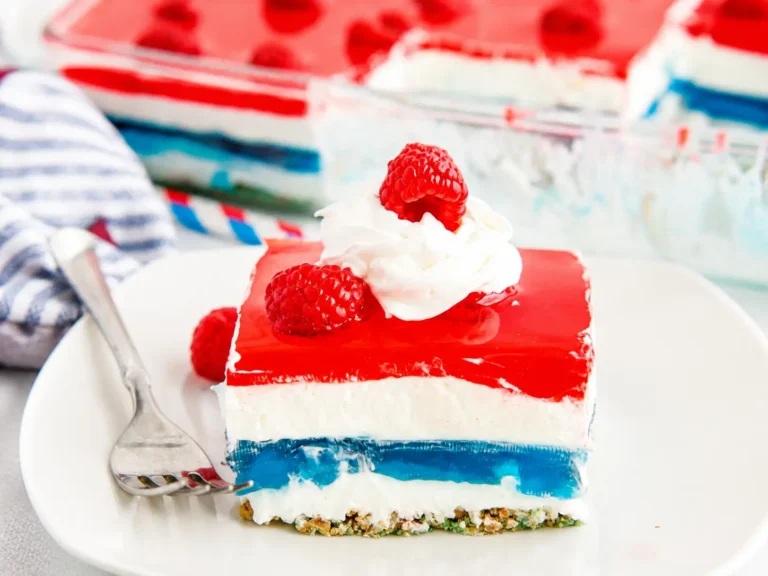
Red, White and Blue No-Bake Cheesecake for a Festive Treat
FAQs about Mini Cheesecake Cups
Can Mini Cheesecake Cups be made ahead of time?
Yes, they’re actually better after chilling for several hours. The filling firms up and becomes extra creamy as they rest in the refrigerator. You can make them a day ahead and add toppings before serving.
How do I store Mini Cheesecake Cups?
Keep the cheesecake cups in an airtight container in the refrigerator. They stay fresh for up to one week when properly chilled. For the best texture, store whipped cream and fruit separately until serving time.
Can I freeze mini cheesecake cups?
Absolutely. Place the cooled cheesecakes in a freezer-safe container with parchment between layers to prevent sticking. Thaw them overnight in the refrigerator before adding toppings and serving.
What toppings go best with Mini Cheesecake Cups?
Fresh berries, cherry pie filling, caramel sauce, chocolate drizzle, or crushed cookies all work beautifully. Whipped cream adds a light finish that balances the rich cheesecake filling. You can also mix toppings for a colorful dessert platter.
Mini Cheesecake Cups with Graham Cracker Crust
Mini Cheesecake Cups bake into creamy little desserts with buttery crumb bases and simple toppings for parties, holidays, or make-ahead treats.
- Prep Time: 20 minutes
- Cook Time: 22 minutes
- Total Time: 42 minutes
- Yield: 12 1x
- Category: Dessert
- Method: Baked
- Cuisine: American
Ingredients
- 1 cup (113g) graham cracker crumbs
- 4 Tbsp melted unsalted butter
- 16 oz full fat cream cheese, softened to room temperature
- ½ cup (99g) granulated sugar
- 1 tsp vanilla extract
- 2 large eggs
- Whipped cream, for topping
- Fresh fruit, for topping
Instructions
- Heat the oven to 350º F and place paper liners in a regular sized muffin pan.
- Stir the graham cracker crumbs with the melted butter until the crumbs are evenly moistened and sandy.
- Spoon 1-2 tbsp of the crumb mixture into each lined muffin cup, then press it down firmly with the bottom of a 1/3 cup or a similar small cup.
- Bake the crusts for 5 minutes, then take the pan out of the oven and let the crusts cool while you prepare the filling.
- In a mixing bowl, beat the room-temperature cream cheese and granulated sugar with an electric mixer for 1-2 minutes, until creamy and smooth.
- Add the vanilla extract and eggs, mixing only until the batter is smooth and the egg yolks are blended in.
- Pour or scoop the cheesecake mixture evenly over the crusts, filling each liner to the top.
- Bake for 15-17 minutes, until the centers still have a soft little jiggle.
- Cool the cheesecakes to room temperature, then chill them in the refrigerator for at least 4 hours before serving.
- If chilling overnight, cover the cheesecakes loosely with plastic wrap.
- Add whipped cream, fresh fruit, or chocolate ganache right before serving.
Notes
- For storage, keep the mini cheesecakes in an airtight container in the refrigerator for up to a week.
- For freezing, wrap the cheesecakes one by one or layer them in a freezer-safe container or bag with parchment paper between layers.
- Freeze for up to 3 months, then thaw in the refrigerator before serving.
- After adding the eggs, mix gently and briefly to help prevent air bubbles and cracks.
Nutrition
- Serving Size: 1 mini cheesecake
- Calories: 107 kcal
- Sugar: 10 g
- Sodium: 58 mg
- Fat: 5 g
- Saturated Fat: 3 g
- Unsaturated Fat: 3 g
- Trans Fat: 1 g
- Carbohydrates: 14 g
- Fiber: 1 g
- Protein: 1 g
- Cholesterol: 37 mg
Keywords: Mini Cheesecake Cups, mini cheesecakes, cheesecake cups, individual cheesecakes, cheesecake cupcakes